Last week was Spirit Week at my school. I took advantage of Crazy Hat Day so that I could "dress down" on Thursday. This is the flower that I made that morning, so you know it did not take very long at all!
Materials:
Main Fabric: 3" x 24"
Contrasting Fabric: scrap size to cover button
Iron-on Interfacing: scrap size to cover button
Button to cover
Thread
Needle
Sewing Machine: You could do this by hand, but I have a sewing machine & know how to use it.
Buckeye Necklace: Doesn't everyone have one?! OK, you don't actually need this.
1. Grumble because you have to wind a new bobbin.
2. Wonder why you're grumbling, since you have a great machine that makes step #1 easy.
3. With right sides together, sew the short sides of the main fabric. I used 1/4" seam allowance. Size
doesn't matter on this.
4. Press open seam, then press fabric tube in half, wrong sides together.
5. Set machine to basting stitch.
6. Beginning about 1/2" before the seam, sew one row of basting stitches all the way around.
7. Sew a second row of basting stitches all the way around.
8. Pull up the bobbin stitches that do not go over the seam, and begin to gather.
9. Gather entire length as tightly as you can.
10. Pick up bobbin threads from basting that goes over the seam. Gather as much as you can.
11. Pull both sides of bobbin threads tight, and tie into a knot to secure.
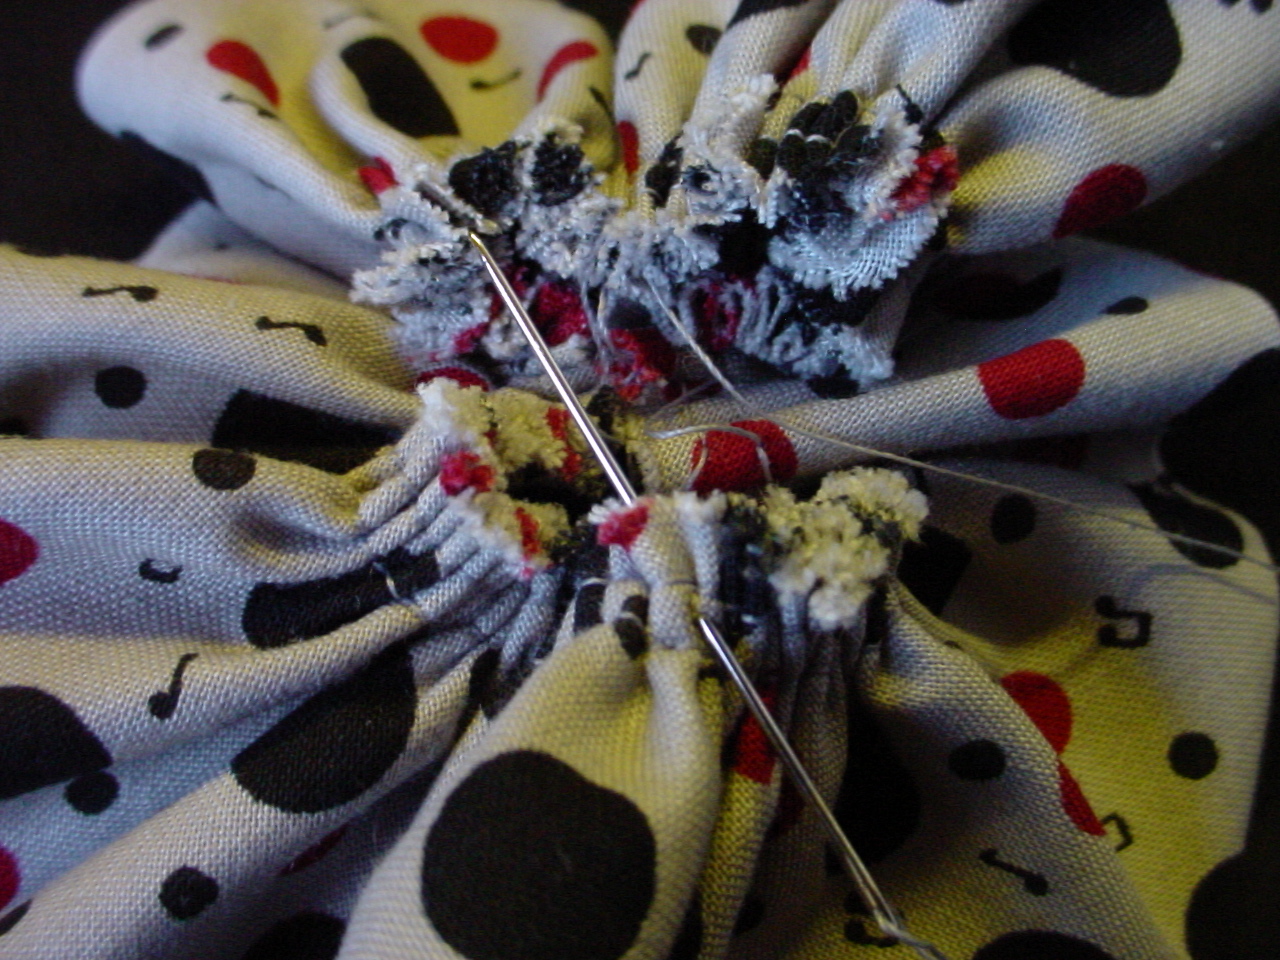
12. Smoosh (technical term) potential flower in half and begin hand stitching together in the seam allowance.
13. Rotate flower 90 degrees and sew seam allowances tight.
14. Continue to rotate flower and hand baste, forming a tight center.
16. See step 15.
17. Continue until you are happy with the shape of the flower.
18. Sew button onto center of flower.
19. Use an advanced technilogical invention to attach flower to item.
20. Admire completed project that coordinates with reconstructed t-shirt.
21. Get dressed for the big game.
22. Text sister who just had carpal tunnel surgery and can't do anything with her hands.
23. Check dog's wardrobe and dress her for the big game. Decline the penalty of washing her collar.
24. Laugh at DH's shirt for the big game. It's a tie-dye that he didn't do, and it's even the
wrong sport.
GO BUCKS!


Sister Sister Sunday